
Run an ecommerce site? Here are 10 tips to take better product photos
As a product photographer, your goal is to sell — which is something you may not think about! Your photos can make the difference between a customer adding the item to their cart, or passing on it.
To help you make your products stand out and catch your audience’s attention, we teamed up with Ted’s Cameras to put together our top 10 product photography tips.
#1 Choose the right lighting setup
Nothing ruins a product photo faster than harsh shadows. To eliminate those, it’s important to get your product photography lighting setup right.

Part of that is learning how to avoid shadows in product photography. If you’re relying on natural light, steer clear of shooting during the middle of the day, when the sun is high in the sky. When you’re ready to shoot, position yourself close to the nearest window, but not so close that you’re completely in the sun, then move your product so the direct light falls on it at an angle. It’s a good idea to use a reflector or bounce card to direct light in your favour and minimise shadows.
Since natural light isn’t consistent, I recommend using an artificial light source. Try to avoid the built-in camera flash as it can produce deep, dark shadows. Instead, invest in an external lighting option, such as a camera-mounted flashgun, LED lights or even a full-blown studio lighting startup if product photography is more than a hobby! These sources will leave you with soft, even lighting that clearly accentuates your products.
#2 Use a dedicated camera, if you have one.
If you have a choice between a smartphone and a mirrorless or DSLR camera, use the dedicated camera. It will capture crisp, high-quality photos to do your products justice.

Let the product do the talking and keep styling to a minimum where possible.
Modern cameras are also kitted out with a wide range of manual camera settings for product photography, which can help you get the effect you’re hoping for.
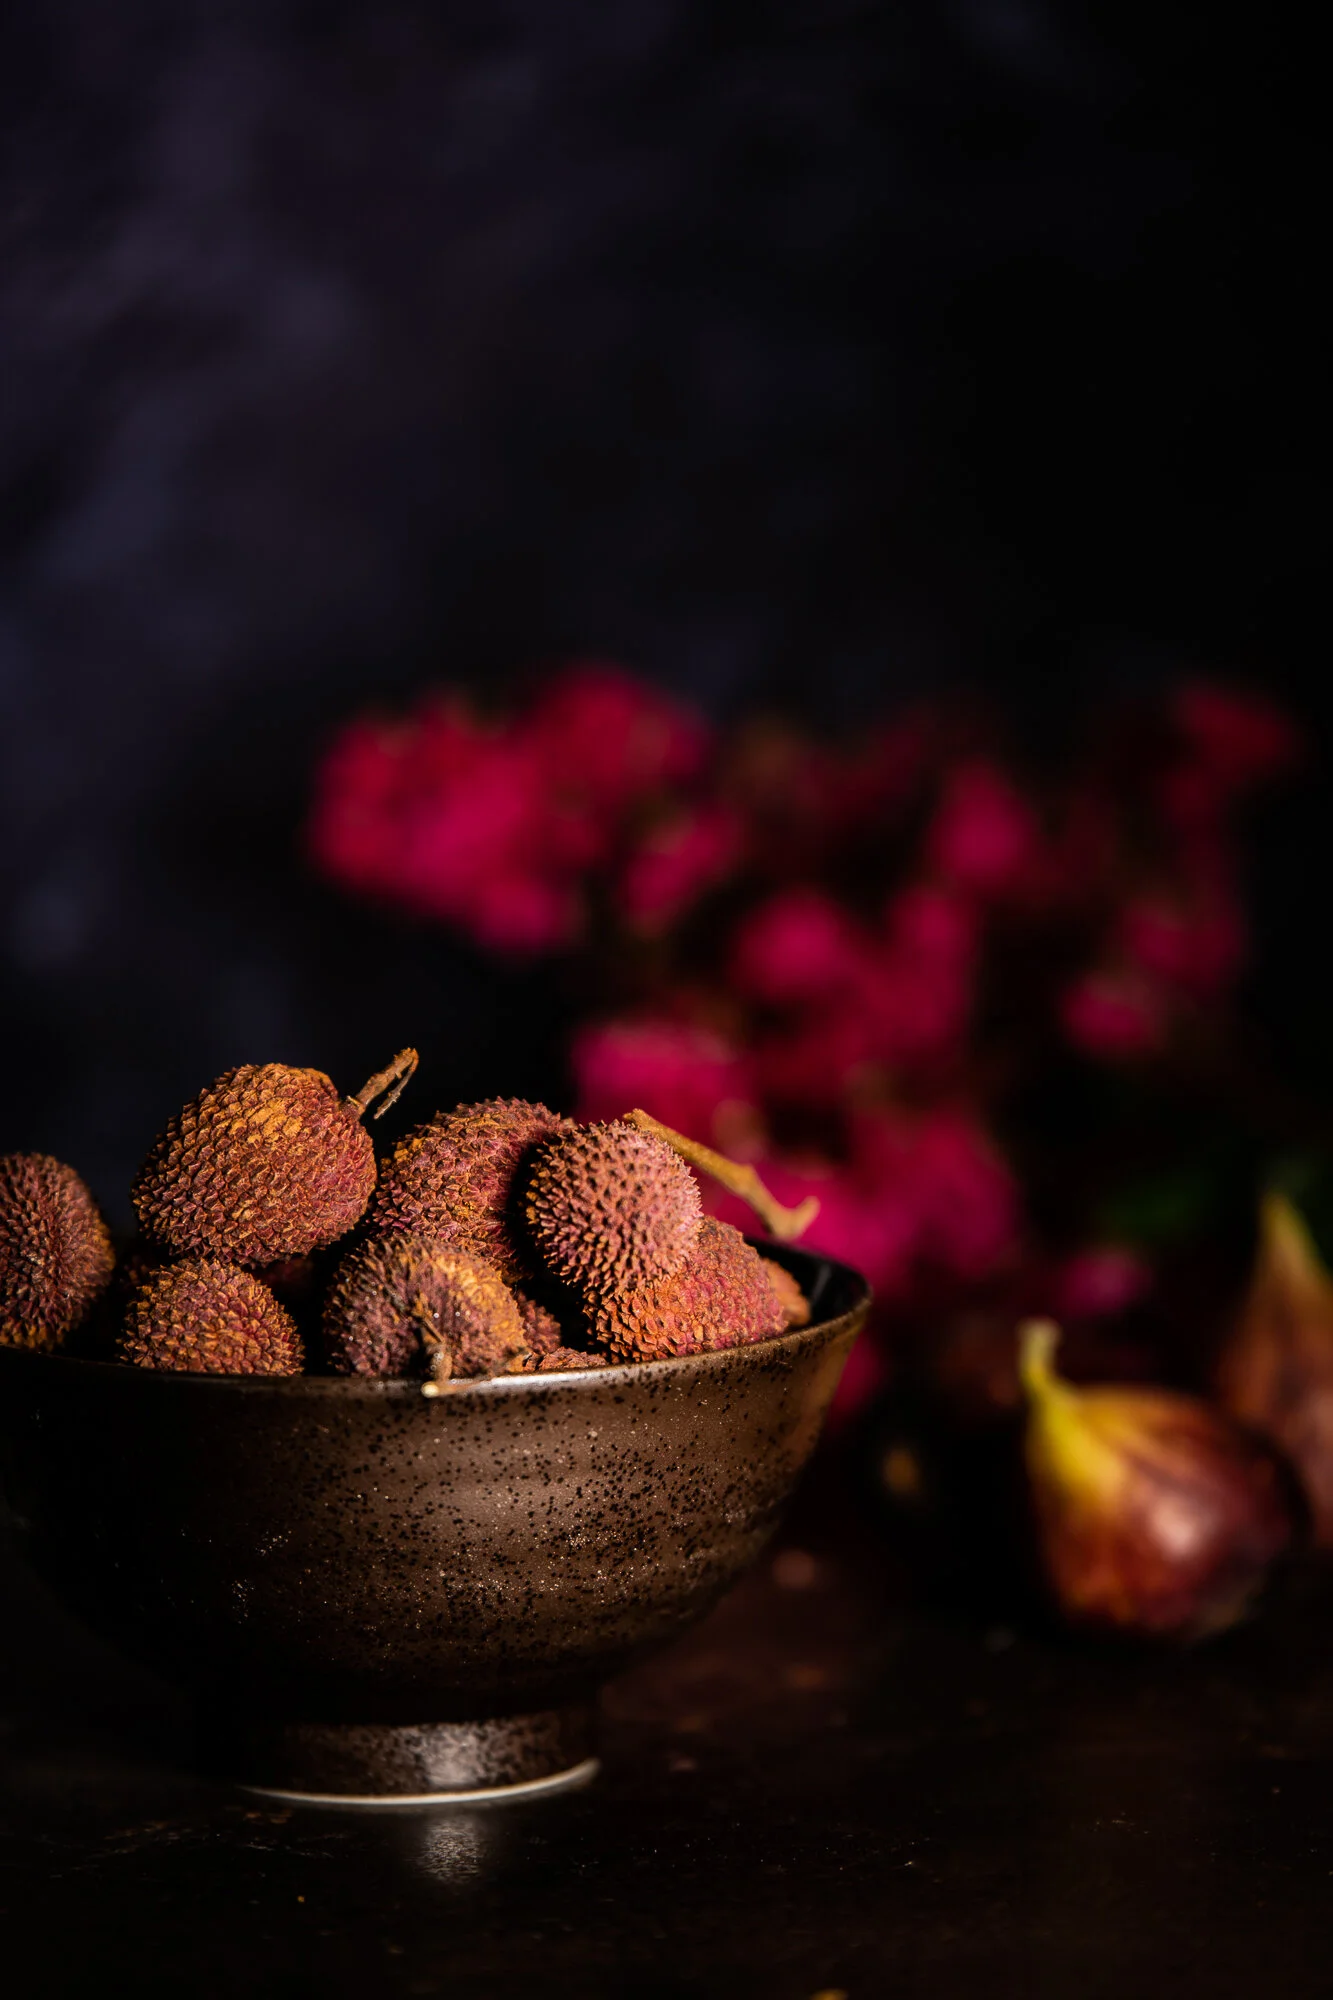
A wide aperture was used in this image to create the blurry background.
#3 Play around with aperture for product photography
An all-important part of the exposure triangle, aperture helps you experiment with different levels of depths of field.
Unfamiliar with this setting? Aperture describes the size of the lens opening, which lets in light. If you hear photographers talking about f/stops, they’re referring to the aperture, and it can be a little confusing because a smaller aperture creates a larger depth of field. To keep your products crisp and in focus, change your f/stop to the highest number.
#4 Reach for a 50mm lens or similar
Whether you’re starting an e-commerce site or selling off a few items, there are a few accessories you might w
For product photos, a 50mm prime lens will do the trick. It will separate the image’s foreground from the background, and highlight the details in your product. And if you’re shooting products really close up, you may want to add a macro lens to your kit to help you showcase the tiny details people might miss.
Either way, avoid using a wide-angle lens. They’ll distort your products and you’ll spend a lot of time trying to correct that in editing.
#5 Use a tripod, especially if your lighting isn’t great
Every photographer needs a tripod, whether they’re shooting landscapes, sports games or — you guessed it — products.
The best tripod for product photography is a standard tripod with a three-way head. It will help you take sharp, blur-free photos and easily capture your product from all angles. If you’re using a product photography table, a mini tabletop tripod also works, and it’s a cheaper option.
If you’re shooting products that will be displayed side-by-side on an ecommerce site, a tripod is essential for consistency.
#6 Be mindful of your backgrounds
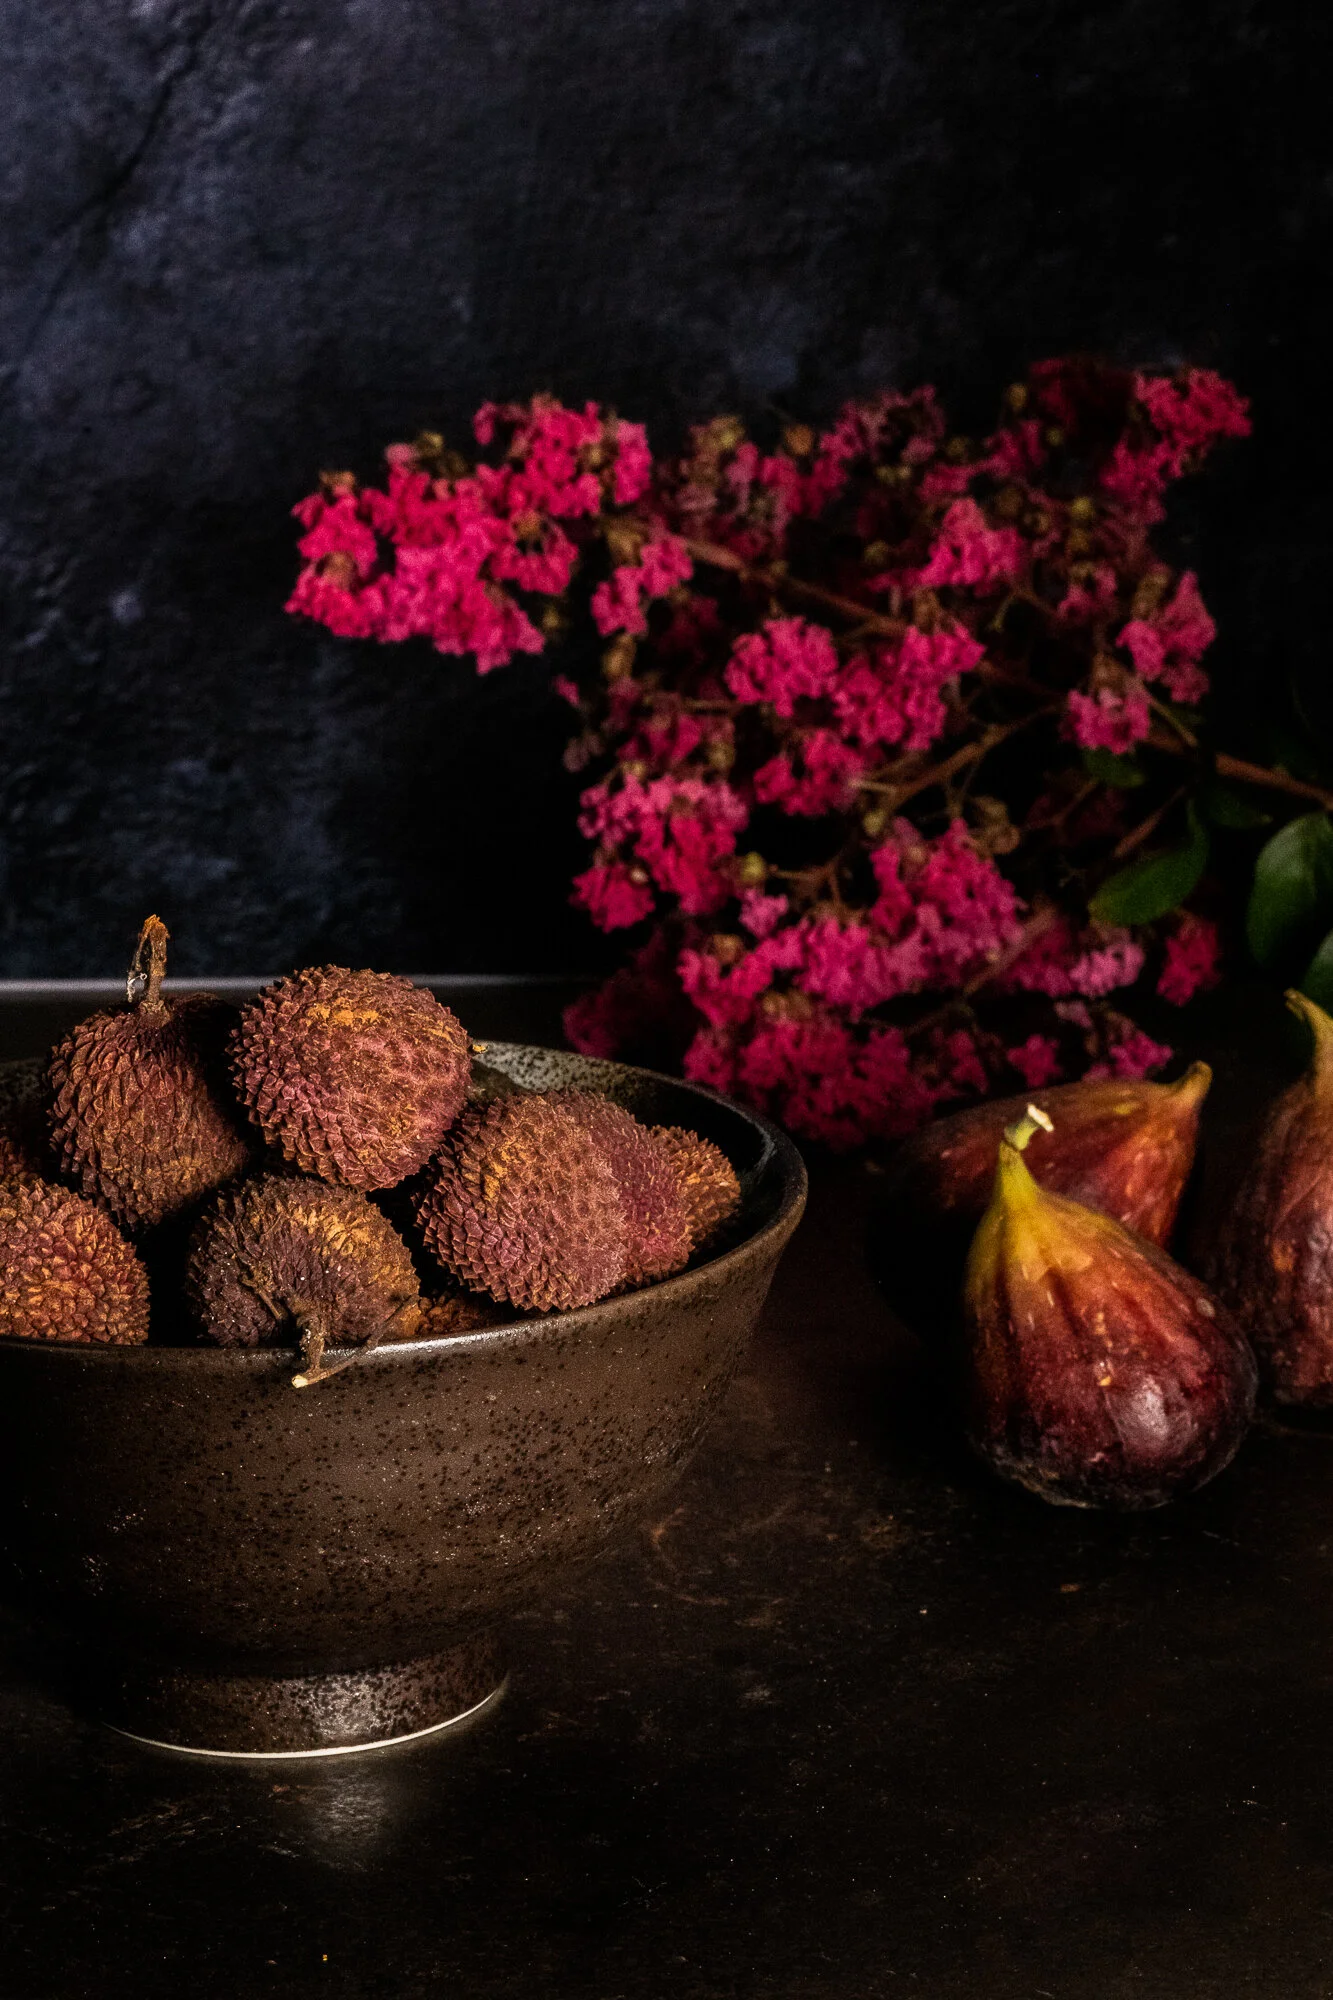
A smaller aperture was used on this image so that everything in the background was in focus.
The best background for product photography is a plain white background. You can buy a professional board, or DIY it with a roll of seamless paper from an art store. If you choose that option, hang up a sweep of paper vertically and secure it with tape. Depending on what you’re shooting, you may want to place a table in front of your background to display your products on.
The reason why we use plain backgrounds is because they’re not distracting. But if you don’t have access to one, just be sure to remove any random objects and clutter from your space so as not to draw attention away from the product.
#7 Try different angles to see what works for your product
Each product has its own characteristics, so don’t restrict yourself to one angle. Experiment with a few.
For example, some products look better as flatlays, while others may benefit from a front or 45-degree angle shot.
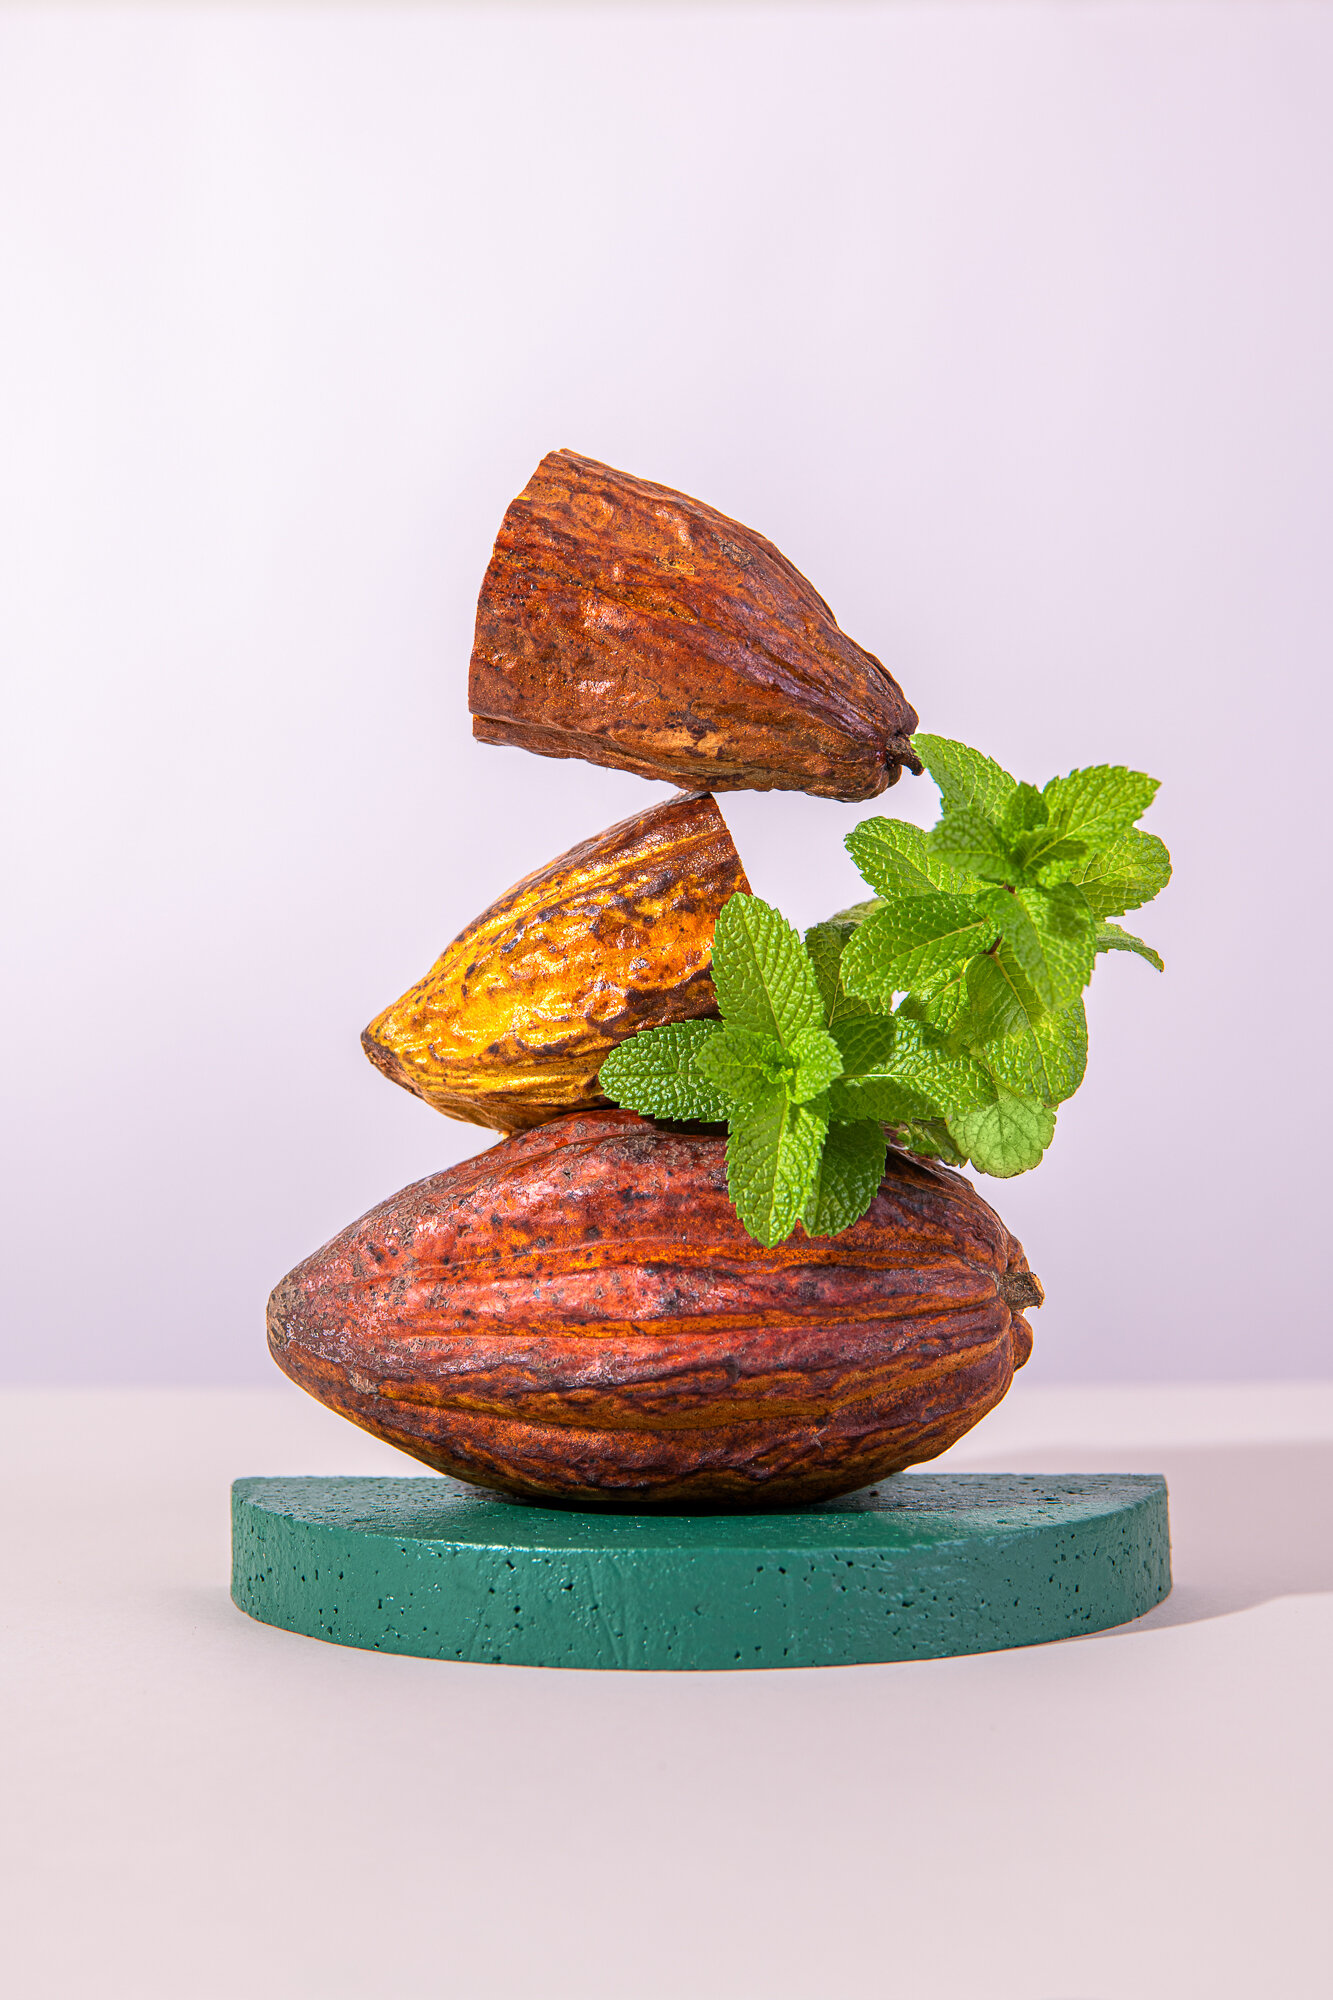
#8 Keep your props minimal
This is a short but sweet tip: don’t clutter up your image! You want your product to be the star of the show, so help your viewer to stay focused on theitem in front of them.
To create a clear space, rely on that white background we mentioned. Or for lifestyle, in-situ shoots, do a sweep of the outdoor area to remove any mess and unnecessary objects. You can always make green foliage part of your styling, but keep it neat.
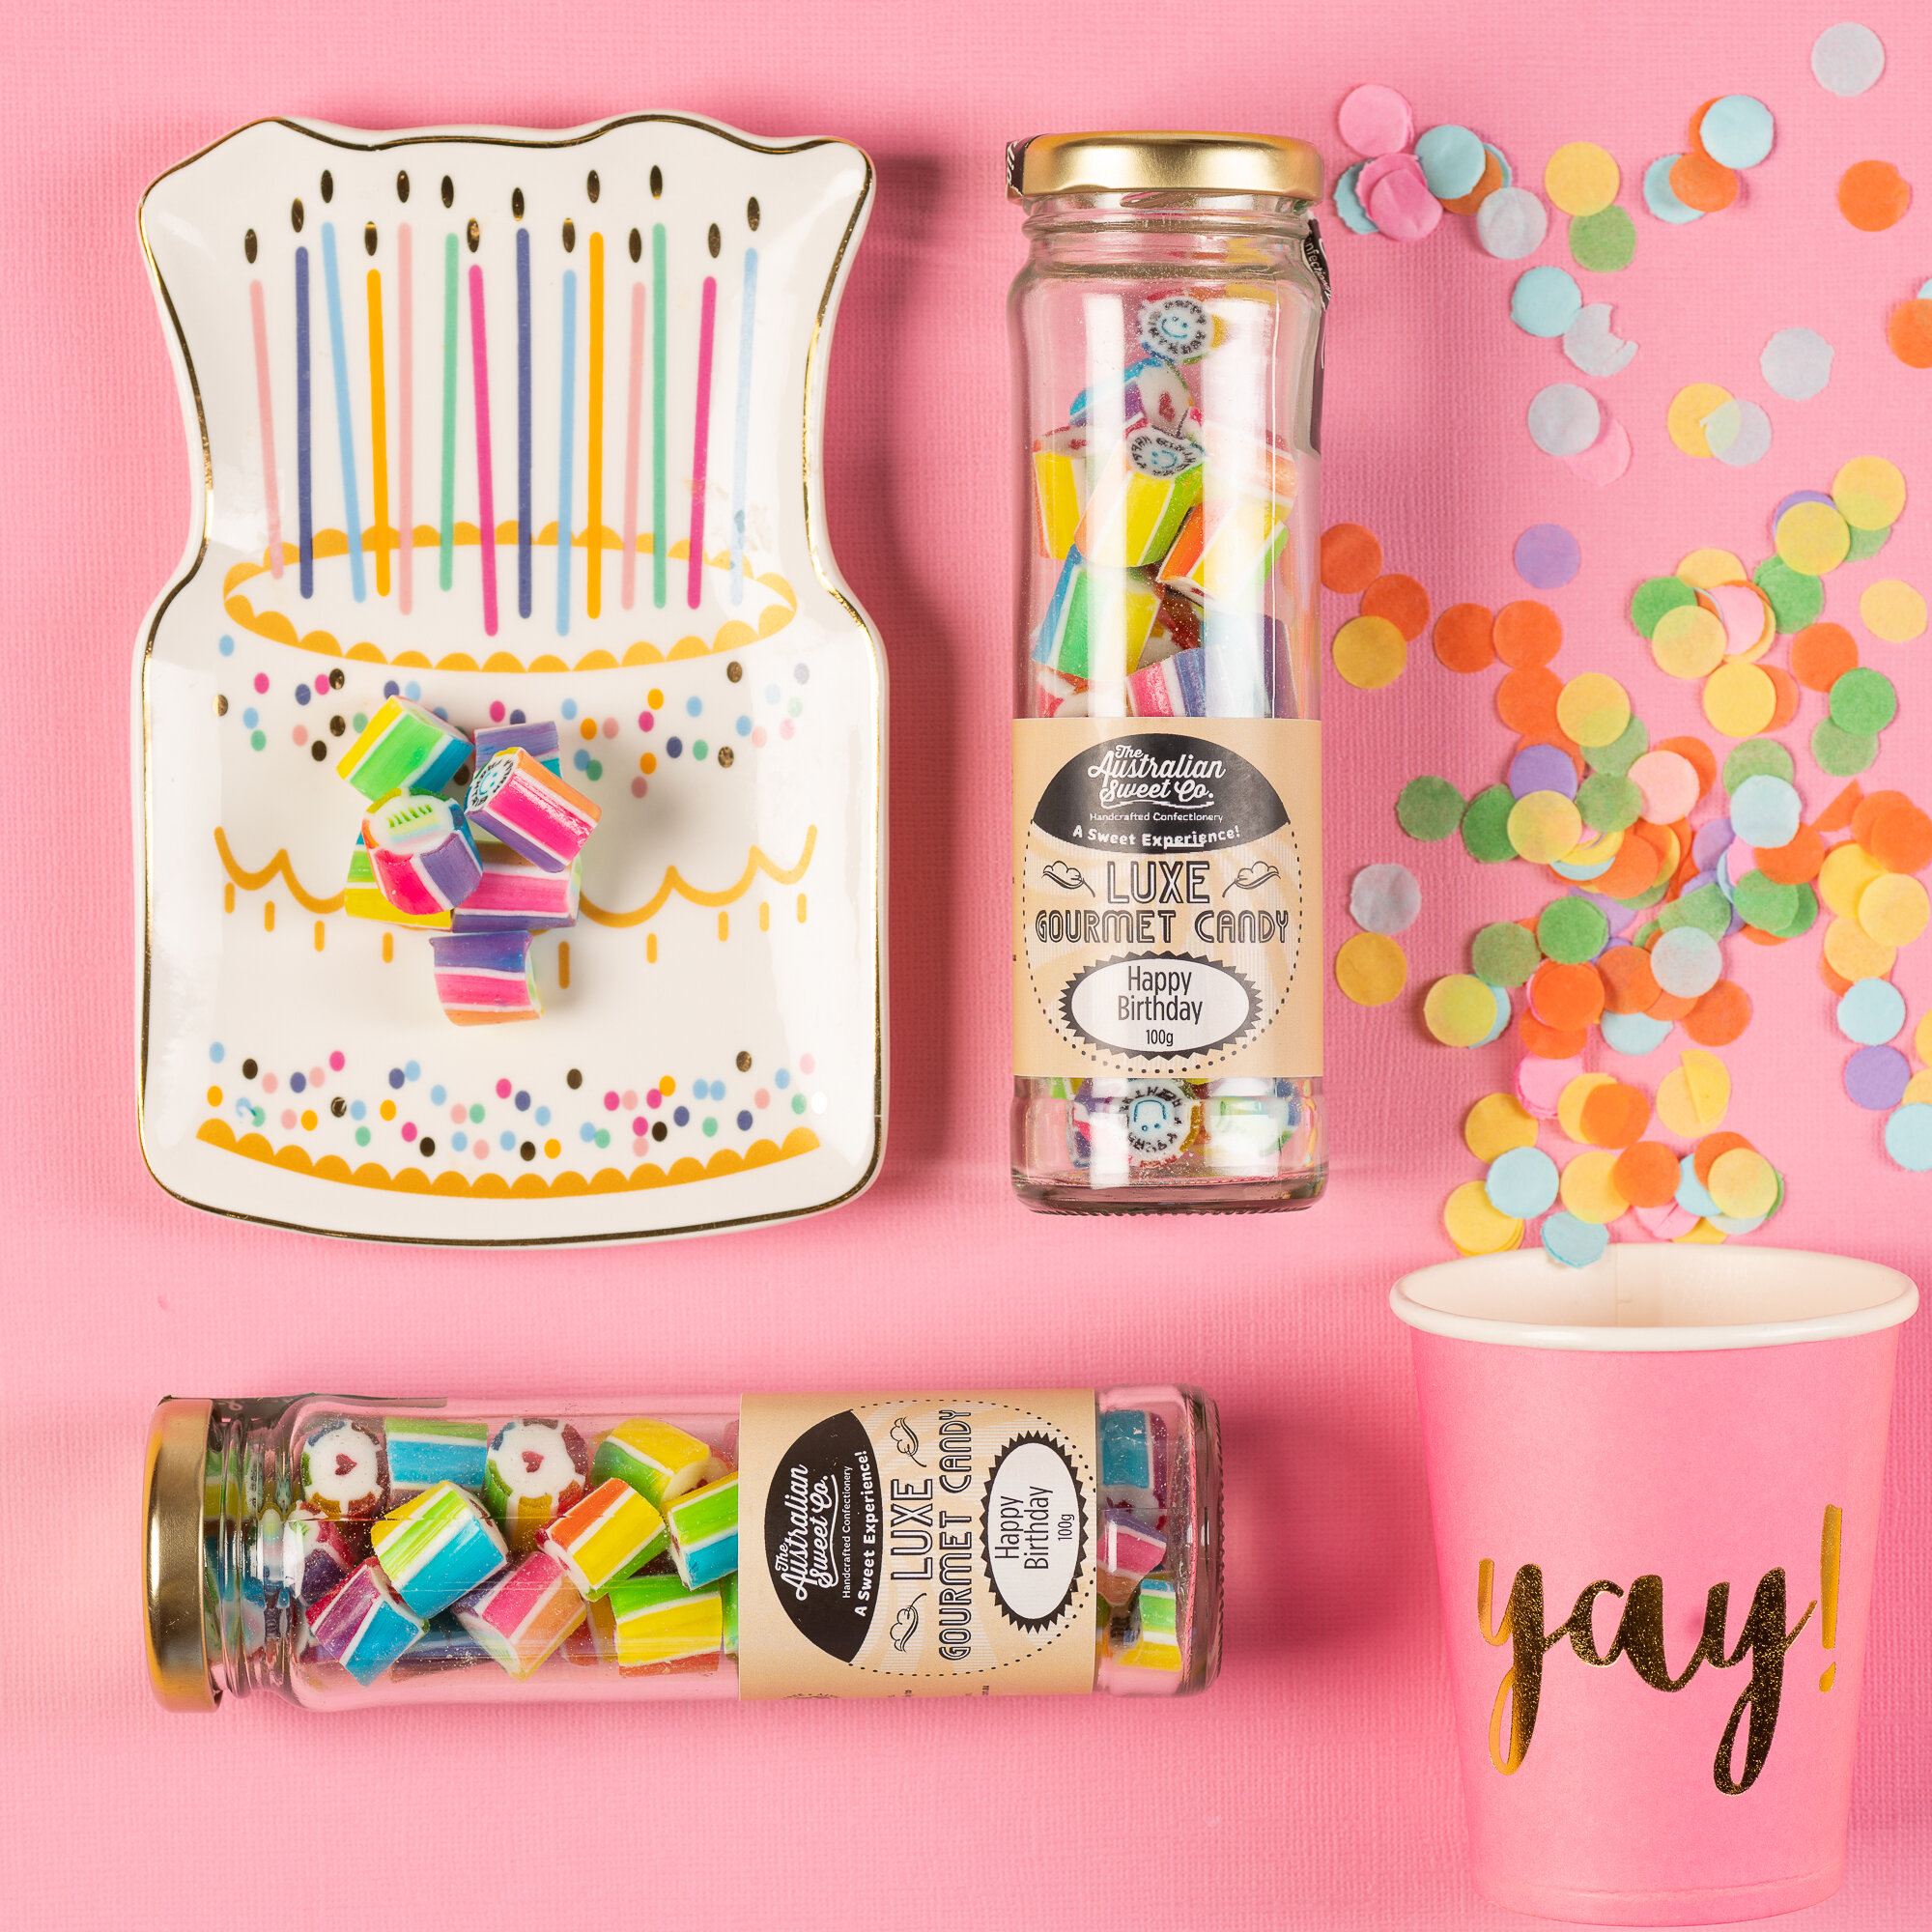
#9 Limit yourself to 3 or 4 colours
Unless the brief calls for it, stick with a small colour palette to avoid clashing and fatigue.
This is based on colour theory: a school of thought that examines how grouping certain colours together can foster a mood or help with a narrative. It guides fashion directors and set designers, and it can do the same for you as a product photographer.
Once you’ve chosen your colours, make sure they’re captured accurately by setting up White Balance using the custom option in your camera. Otherwise, shoot in RAW mode so you can fine-tune your images in post-production.
#10 Learn some basic editing techniques
During the editing stage, aim to enhance your image. I use and recommend Lightroom. It’s an affordable option that makes it easy to manage a lot of images and do batch edits, but there’s other software on the market.
As for how to edit product photos, work through these editing steps:


● Crop your images so they’re uniform in size.
● Adjust the exposure to ensure your image isn’t too light or dark.
● Tweak the white balance to make the image warmer or cooler, if you didn’t already do that on your camera. If you shoot outdoors, try the Daylight or Cloudy setting, and for indoor shots, try Tungsten or Fluorescent.
● Refine your image with the help of the saturation and clarity settings, but be careful not to oversaturate. Remember, viewers expect their products to arrive exactly as they look on the site.
Shop for product photography gear
Now that you know the product photography basics, think about investing in key equipment to take your photos to the next level. This could include a DSLR or mirrorless camera, prime lens and tripod.
Head to Ted’s Cameras to shop online, find your local store or get expert advice from the team!